It’s quite common to focus on the article text and handle images at the end. Some times it takes a lot more time to choose the images than writing the article.
However, images should not be treated like that. Images are consumed 60.000 times faster than text. They matter a lot. Here are some tips to improve how you select and insert an image in WordPress.
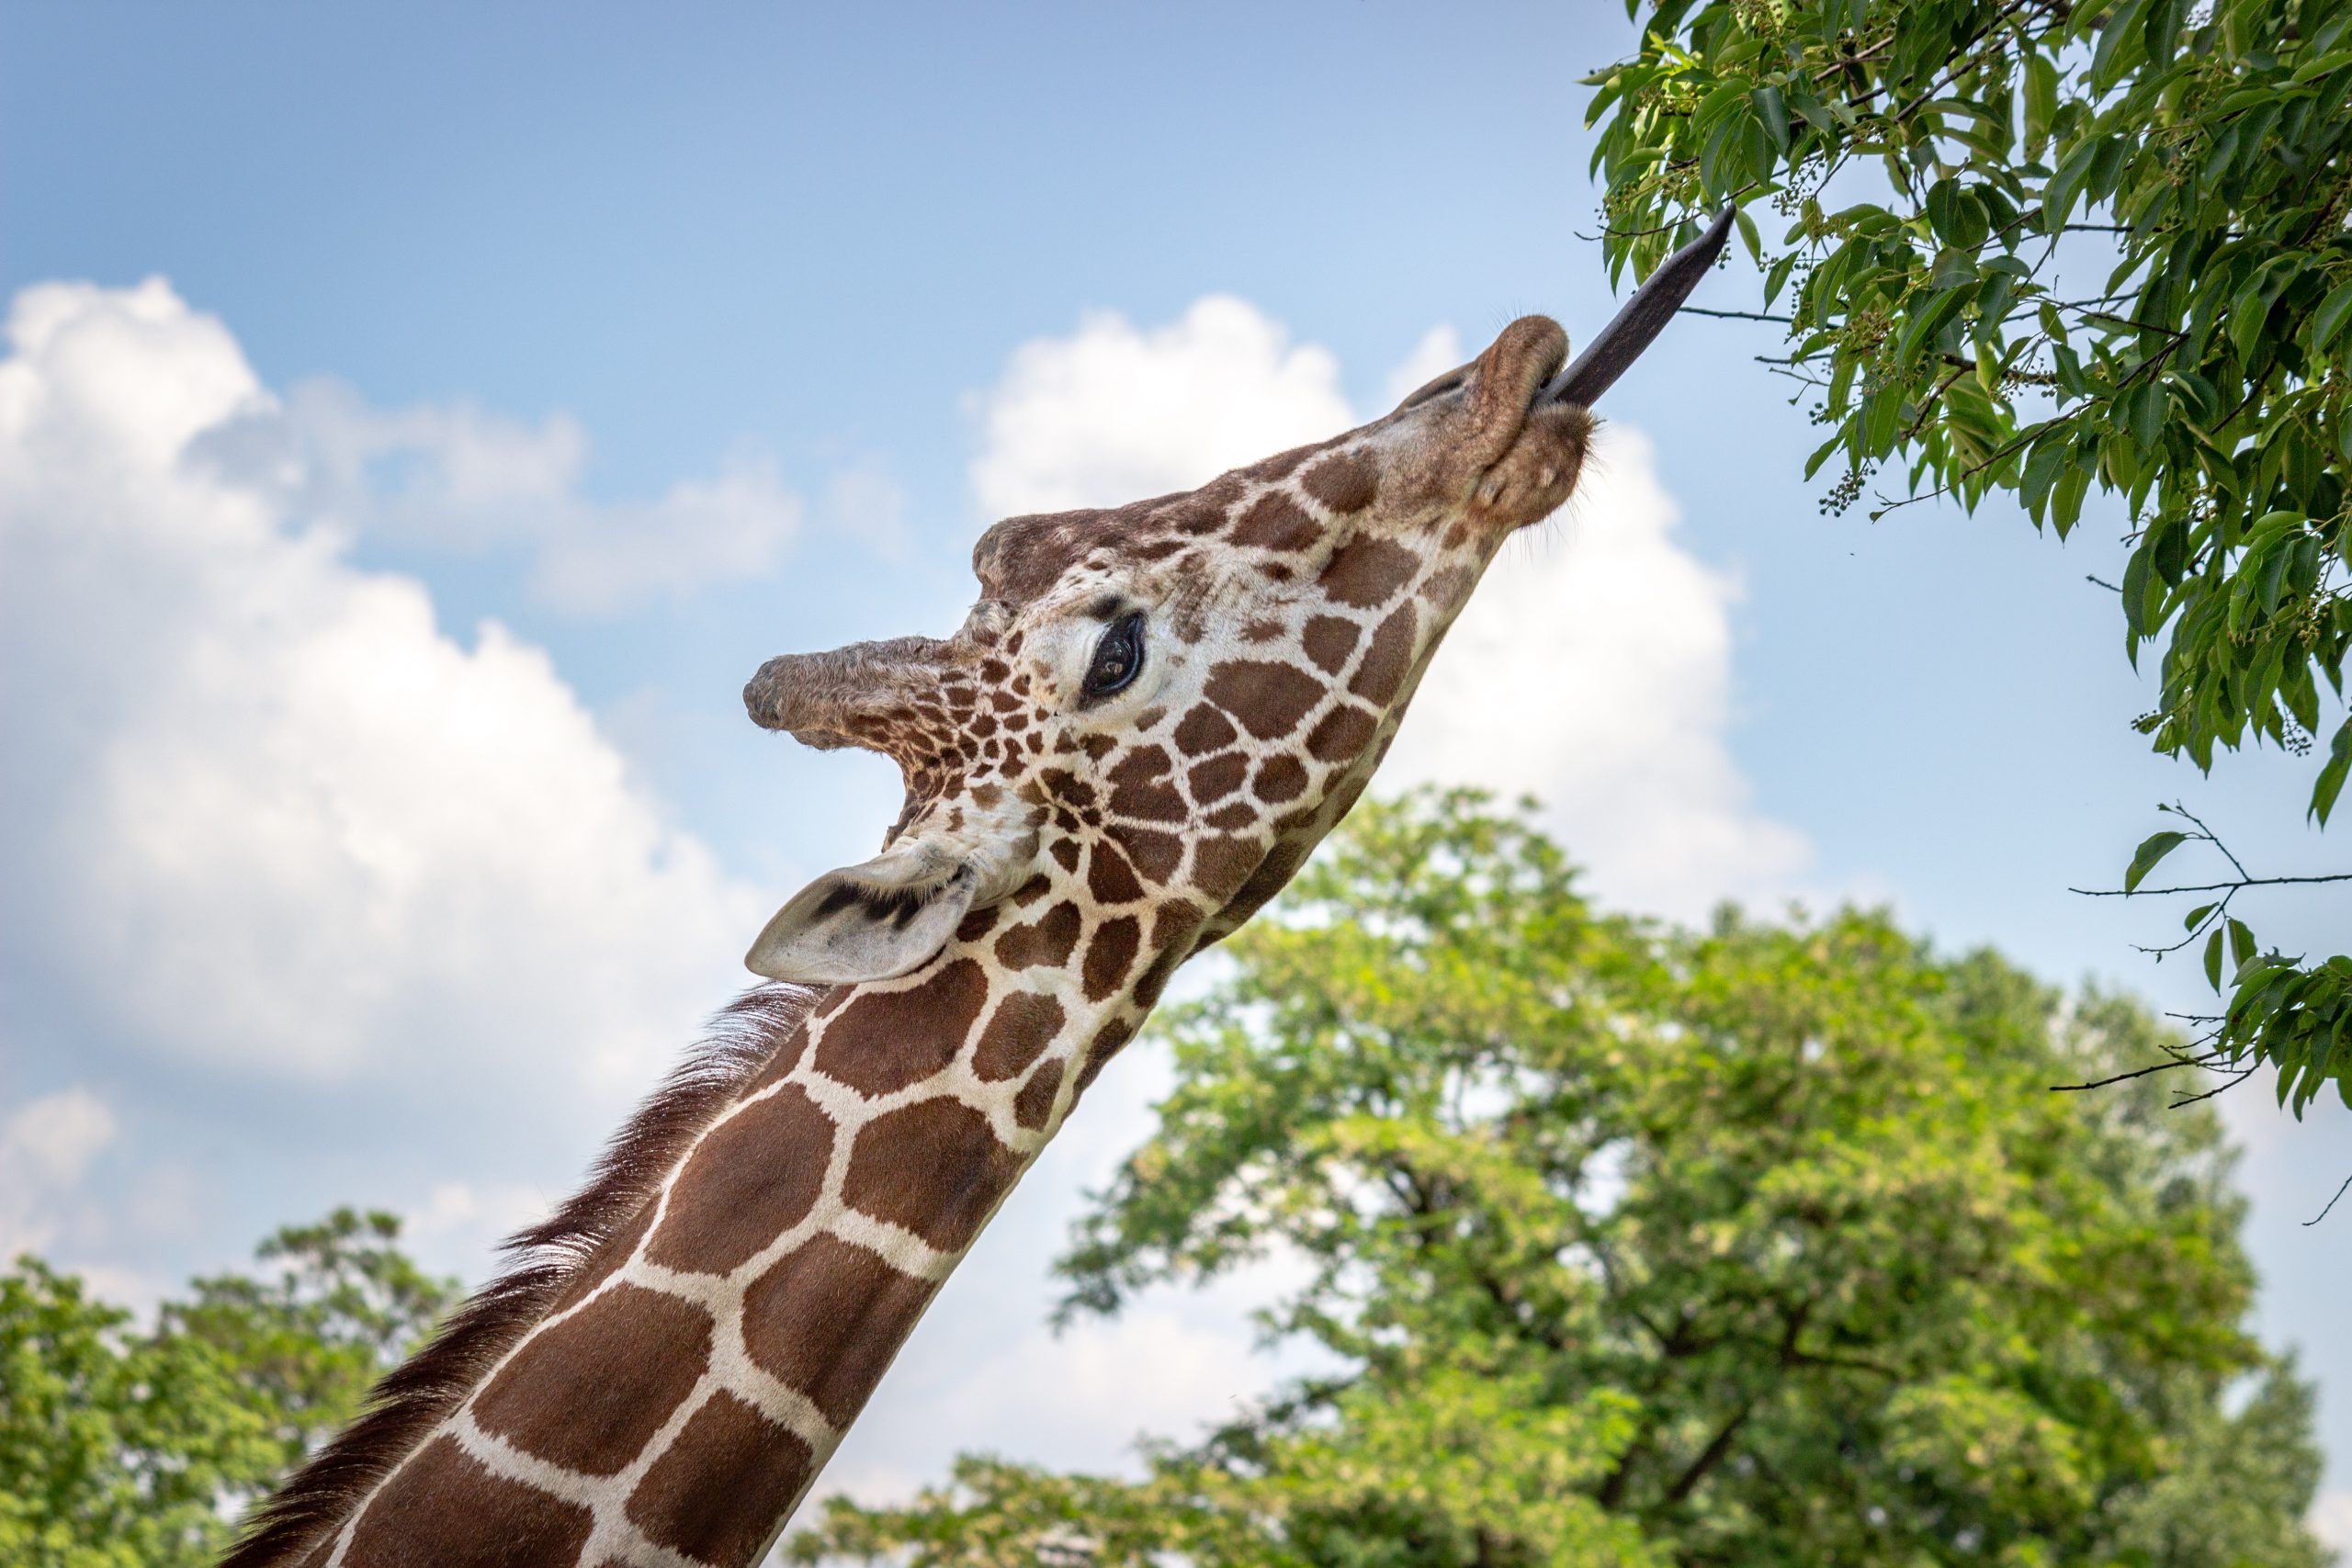
1. Choose an appropriate image
This is up for interpretation, but since there are so many options, you need to constrain as much as possible. If there’s a great image but it doesn’t fit it your constraints, go with your gut. Avoid staged images
- Avoid staged images – Users developed a habit to ignore those.
- Match the article idea – If you are writing about dogs it’s easy. If not abstract the idea of something similar. Search for the emotion instead. Humor is a great way to get engagement as well.
- Set a time limit – If you have a time limit you will be more productive, experiment with different time limits and see which one works best for you.
- A/B test images – When it’s hard for you to decide, use that as an opportunity to learn.
Because this takes time, we’ve decided to help and build a plugin that makes searching faster. Here’s the StockPack plugin demonstrating how to search for images in WordPress.
2. Check the image sizes
Image sizes are often neglected by theme developers. It’s due to many reasons, the main one being the fact that the theme has many positions where the sizes do not share the same proportion.
But this is going to hurt big time. SEO problems regarding images are the most common issue in terms of performance, right up there with dozens of plugins and a gazillion of scripts loaded on the page. Don’t be that guy, please!
Run performance tests before and after installing a plugin or making a theme change that impacts images. This tip works for all other changes as well. This is how you can make decisions on the quality of plugins or developer work. Remember that its also dependant on the specifications as well.
WordPress supports responsive images. Make sure your articles and featured image uses that as much as possible. This will make all the image related errors go away from the performance analysis. https://developer.wordpress.org/reference/hooks/wp_calculate_image_sizes/
In order to have the sizes work you need images that are at least bigger than the biggest size, you have on the site. WordPress automatically creates all sizes during upload. If you use StockPack to get images into your WordPress site, you don’t need to worry about the minimum size.
3. Make sure you are not infringing copyrights
Images and text alike are subject to copyright laws. While some do not pay too much attention to this, it’s always better to be safe than sorry.
There are images that can be used freely, which are marked as Public Domain. In this case you will be able to use it on anything, but when you think you are going to have a large audience (50.000+) it’s always best to verify the source website terms.
The second tier is the Creative Commons tier which is free with some limitations, and you should read on the terms of the source. In most cases, these images are free for articles but might require to specify the author.
The third tier is Royalty-free, in this case, you can buy a license and use it according to that license. Article images are generally the most basic offering so you should be fine with the basic subscriptions.
The rule of thumb is to read the rules for images and see if you need to attribute or not for free images. For paid images, you need to check the traffic allowed and if you are allowed to use the image on the print. This is not legal advice so proceed with care.
StockPack can help with that. The plugin will automatically insert captions with the author where that is recommended, and you will be safer by going through the plugin. However, it’s best that you keep up to date with the terms of the image source website.
4. Use an optimization plugin
You must optimize images if you want to have a speedy website. All image optimization plugins work, but there are some comparisons that might help you decide which one to use.
This step is has the biggest impact by far and its very simple to do it. Install an optimization plugin and that’s it.
This might add some time in some cases, while in other cases optimization is done after the upload. In any case if you use StockPack you save some time as you don’t have to manually download to your computer first.
Go ahead and use that time to optimize your images. Especially considering how many users are mobile now, this will make a huge difference for your website visitors. This and the image sizes we talked about.
5. Mind the image SEO
Image SEO is important, captions, as well as image names and titles, can bring traffic to your website. Another key aspect of image alt tags is accessibility.
And this is very easy, so why not do it? With StockPack you get automated alt tags as well as captions and meaningful image names. You can still edit them, but you get a good default for when you are in a rush.
Next steps
While we covered the essentials regarding WordPress image handling, there are still advanced things that could be done. Lazy loading, as well as image extensions, come to mind, but with ever-changing technology, you should always try to keep your website up to date and fresh.
Make sure you always set time for refactoring/optimization in the process of building and maintaining your website, and include images there as well. Also if you are looking for a plugin to speed up the image search process check out StockPack.